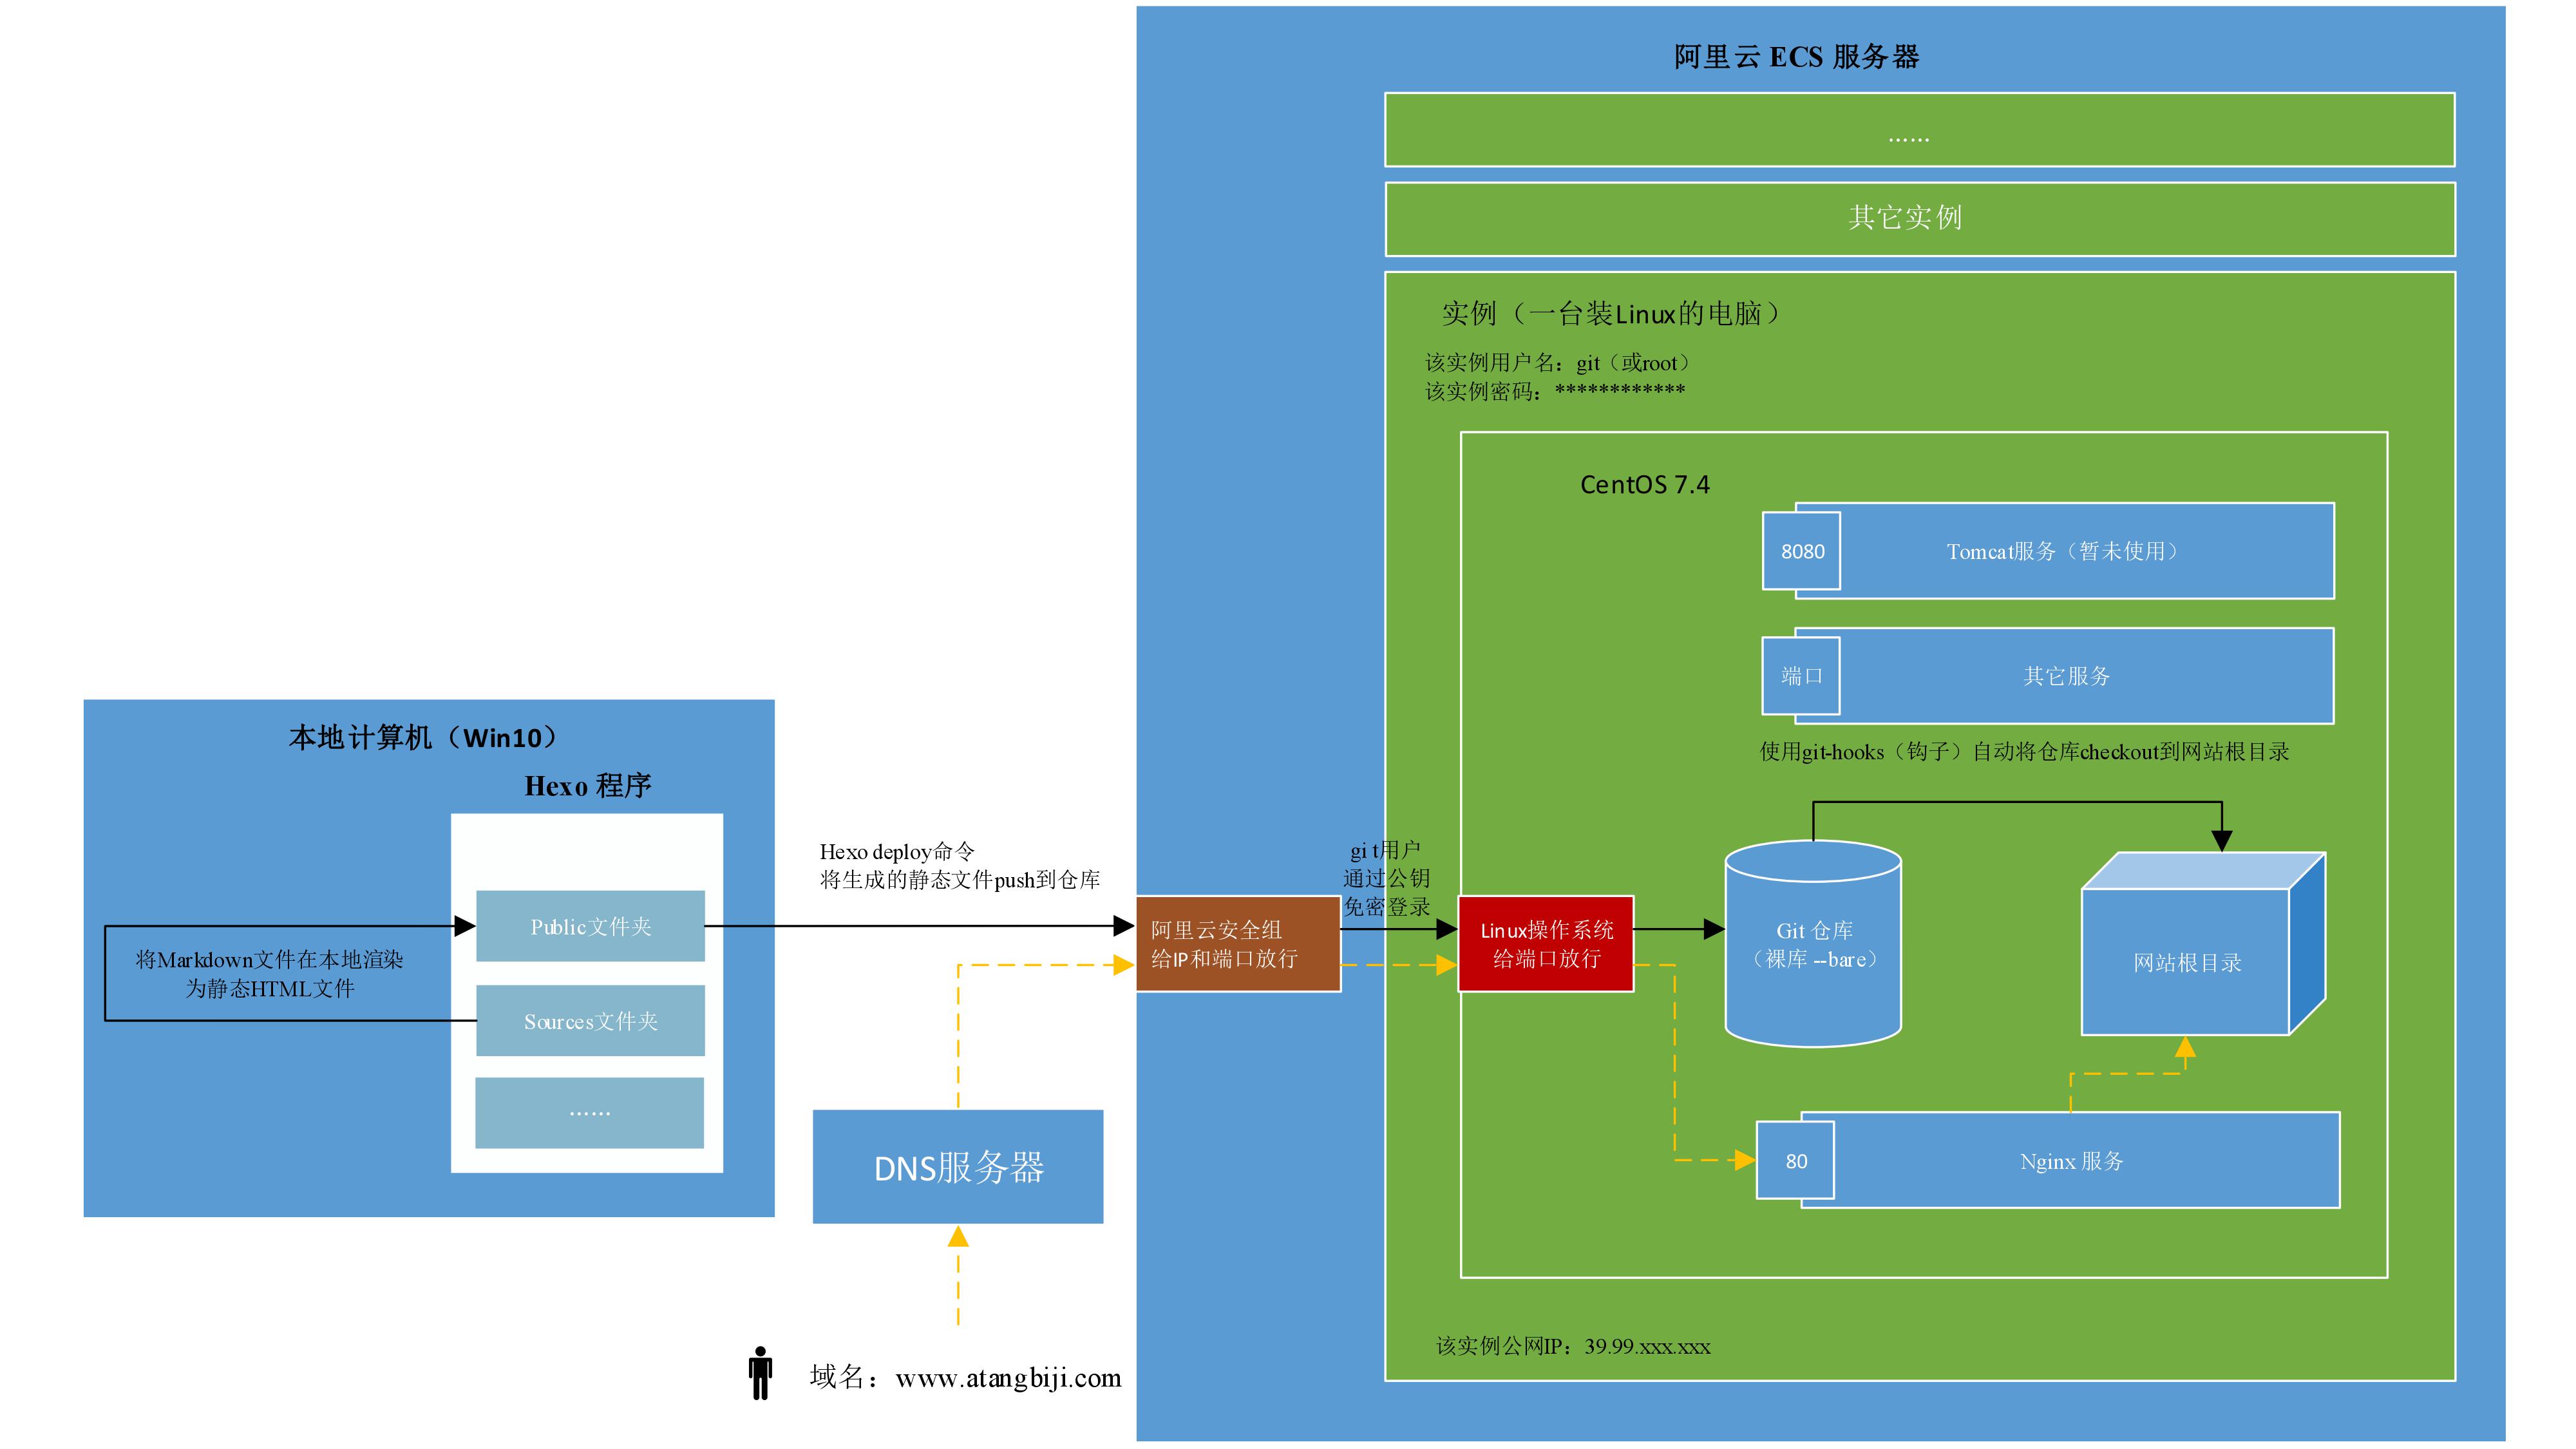
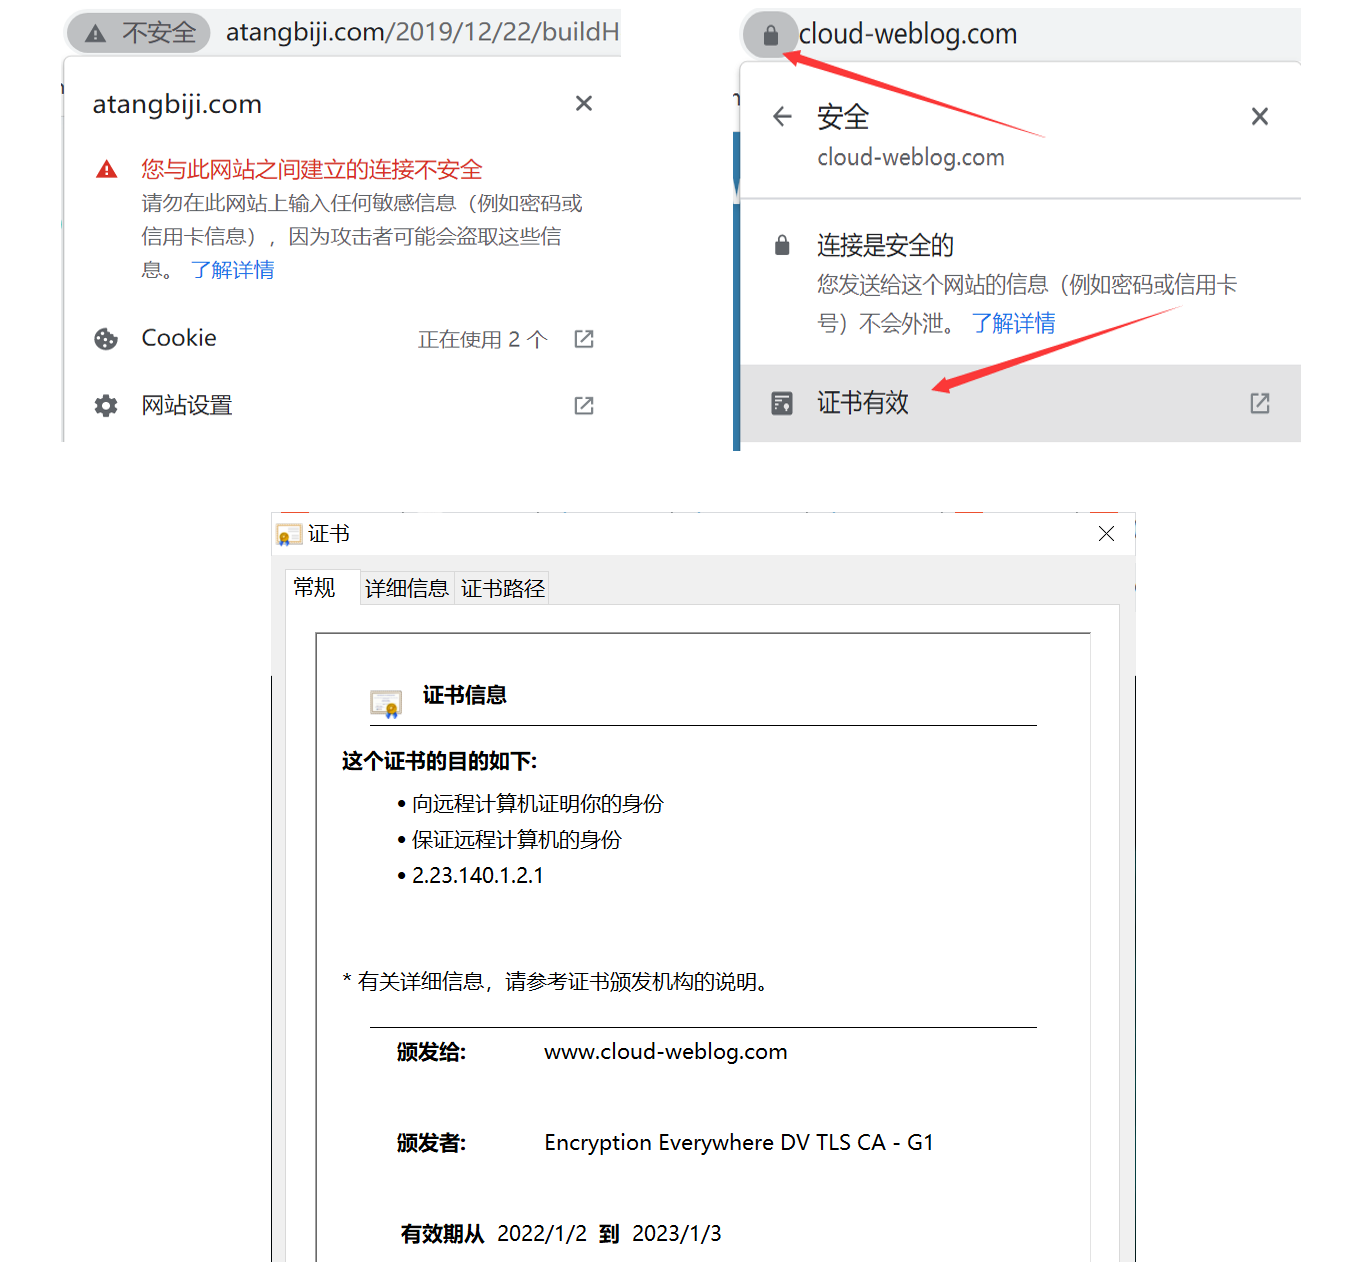
参考butterfly作者的教程:butterfly

1. hexo-theme-butterfly安装

1
2
3
4
5
6
# git安装	建议安装稳定版
git clone -b master https://github.com/jerryc127/hexo-theme-butterfly.git themes/butterfly
# 更新主题
git pull
# 安装pug以及stylus渲染器
npm install hexo-renderer-pug hexo-renderer-stylus --save

2. 主题配置

修改 Hexo 根目录下的 _config.yml,把主题改为butterfly

1
theme: butterfly

在 hexo 的根目录创建一个文件 _config.butterfly.yml,并把主题目录下的_config.yml 内容复製到 _config.butterfly.yml 里面。( 注意: 复制的是主题的 _config.yml ,而不是 hexo 的 _config.yml)

说明:Hexo会自动合并主题中的_config.yml_config.butterfly.yml里的配置,如果存在同名配置,会使用_config.butterfly.yml的配置,其优先度较高。

3. 自定义侧边栏

编辑 _config.butterfly.yml 文件,可以自定义widget(窗口小挂件),以下为参考,不详述。

1
2
3
4
5
6
7
8
9
10
11
12
13
14
15
16
aside:
...
card_recent_post:
sort_order: # Don't modify the setting unless you know how it works
card_categories:
sort_order: # Don't modify the setting unless you know how it works
card_tags:
sort_order: # Don't modify the setting unless you know how it works
card_archives:
sort_order: # Don't modify the setting unless you know how it works
card_webinfo:
sort_order: # Don't modify the setting unless you know how it works

newest_comments:
enable: true
sort_order: # Don't modify the setting unless you know how it works

如果想添加自定义的widget,在Hexo博客目录中的source/_data(如果没有 _data 文件夹,请自行创建),创建一个文件 widget.yml. 格式编辑参考自定义侧边栏

4. 在底部添加备案信息

编辑 _config.butterfly.yml 文件,添加custom_text信息

1
2
3
4
5
footer:
...
custom_text:
<a href="http://www.beian.miit.gov.cn/"><img class="icp-icon" src="https://pic3.zhimg.com/80/v2-d0289dc0a46fc5b15b3363ffa78cf6c7.png"><span>鄂ICP备20210*****号</span></a>
copyright: true # Copyright of theme and framework

其中,图标地址可以随便找一个,如https://pic3.zhimg.com/80/v2-d0289dc0a46fc5b15b3363ffa78cf6c7.png用的是知乎的,后面的备案号改成自己申请的备案号。

5. Hexo设置持久化链接

  • 安装插件
1
2
3
npm install hexo-abbrlink --save
# 可能缺少依赖, 如babel-eslint、mini-css-extract-plugin、webpack-cli...
npm install eslint@4.x babel-eslint@8 --save-dev
  • 修改_config.yml
1
2
3
4
5
6
7
8
9
permalink: posts/:abbrlink.html  # 此处可以自己设置,也可以直接使用 /:abbrlink  posts也可改也可以去掉
abbrlink:
alg: crc32 #算法: crc16(default) and crc32
rep: hex #进制: dec(default) and hex
###################### 链接生成示例 #########################
# crc16 & dec
# https://www.xxxxx.com/posts/65535.html
# crc32 & hex
# https://www.xxxxx.com/posts/8ddf18fb.html
  • 生成链接

hexo g时,原md文件的Front-matter 内会增加abbrlink 字段,值为生成的ID 。这个字段确保了在我们修改了Front-matter 内的博客标题title或创建日期date字段之后而不会改变链接地址。